
How to Use XML Sitemaps to Improve Google Indexing
If you’ve ever wondered how Google finds your website pages and decides which ones to rank, the answer often starts with your XML sitemap. While backlinks and content help with rankings, an XML sitemap helps ensure your content is found in the first place. In simple terms, it’s like a roadmap for search engines, guiding them through every important page of your website.
Whether you run a blog, an eCommerce store, or a service website, having a clean and updated XML sitemap is key to improving how Google indexes your site. In this guide, we’ll break it down step-by-step in plain English—no tech jargon, no coding knowledge needed.
What is an XML Sitemap?
An XML sitemap is a file that lists the important URLs on your website. It helps search engines like Google understand which pages exist and how often they’re updated.
What it includes:
- Web page URLs
- Last modified dates
- How often a page is updated
- Priority of each page (optional)
Search engines use this file to crawl your website more effectively, especially if some pages are buried deep or not well linked internally.
Types of Sitemaps
Depending on your website content, you may need different sitemap formats:
| Sitemap Type | Use Case |
|---|---|
| XML Sitemap | General pages like home, about, blog, etc. |
| Image Sitemap | Ensures your images show up in Google Image results |
| Video Sitemap | Improves visibility for pages with embedded videos |
| News Sitemap | Useful for publishers submitting content to Google News |
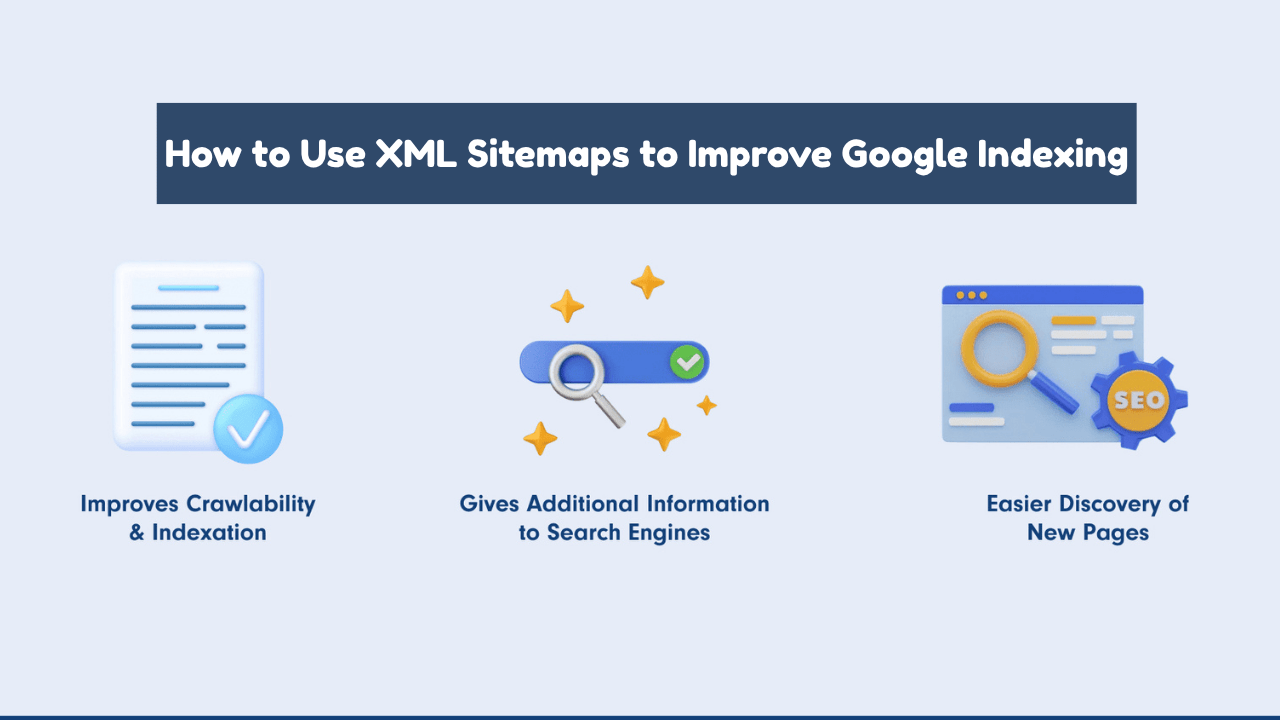
Why XML Sitemaps Are Important for Google Indexing
Google uses sitemaps to discover and prioritize pages. If a page isn’t linked well internally or doesn’t have backlinks, the sitemap helps Google find it.
Benefits of XML Sitemaps:
- Faster indexing of new or updated pages
- Helps large sites with complex architecture
- Boosts discoverability for content with low backlinks
Search engines work with a crawl budget, which is the number of pages they crawl during a visit. Sitemaps help direct that limited budget efficiently.
How to Create an XML Sitemap
Creating an XML sitemap is not as hard as it sounds. There are multiple methods based on your website type:
1. WordPress Users
Creating an XML sitemap helps search engines find and index your website’s pages faster. Here’s a quick guide for WordPress users:
Step 1: Install an SEO Plugin
Use plugins like Yoast SEO, Rank Math, or All in One SEO to create sitemaps easily. Go to Plugins > Add New, search for one, install, and activate it.
Step 2: Enable the Sitemap
- For Yoast SEO: Head to SEO settings, open the General tab, then navigate to Features, and make sure the XML sitemap option is enabled.
- In Rank Math, go to Sitemap Settings and enable the sitemap.
- For All in One SEO: Go to the plugin settings and review the Sitemaps section to activate or configure your sitemap options.
Step 3: Find Your Sitemap URL
Your sitemap URL is usually:https://yourwebsite.com/sitemap_index.xml
Visit this URL to check it.
Step 4: Submit to Google Search Console
Submitting Your Sitemap to Google: Log into your Google Search Console account, pick your verified website, go to the “Sitemaps” tab in the left-hand navigation, enter the sitemap path (e.g., sitemap_index.xml), and click submit to notify Google.
2. Non-WordPress or Custom Sites
Use free tools like:
- XML-sitemaps.com
- Screaming Frog SEO Spider (for large sites)
These tools crawl your site and export a ready-to-upload XML sitemap file.
3. How to Manually Create an XML Sitemap
Step 1: List Your Important URLs
Write down all the key pages you want Google to index—like your homepage, product pages, blog posts, and contact page.
Step 2: Create the XML File
Using a text editor (like Notepad or VS Code), create a new file named sitemap.xml.
Start your sitemap with this basic structure:
<?xml version="1.0" encoding="UTF-8"?>
<urlset xmlns="http://www.sitemaps.org/schemas/sitemap/0.9">

  <url>
    <loc>https://www.yourwebsite.com/</loc>
    <lastmod>2025-07-07</lastmod>
    <changefreq>weekly</changefreq>
    <priority>1.0</priority>
  </url>

  <!-- Add more URL entries here -->

</urlset>
<loc>— The full URL of your page<lastmod>— Date when the page was last updated (YYYY-MM-DD)<changefreq>: Indicates how regularly a page is updated, such as daily, weekly, or monthly.<priority>Tag Explained: This tag signals the relative importance of each page on your website, using a value between 0.0 (least important) and 1.0 (most important) to guide search engines in crawling priorities.
Step 3: Add All Your URLs
Copy the <url> block for each important page, updating the details accordingly.
Example:
<url>
  <loc>https://www.yourwebsite.com/about</loc>
  <lastmod>2025-06-30</lastmod>
  <changefreq>monthly</changefreq>
  <priority>0.8</priority>
</url>
Step 4: Save and Upload the Sitemap
Save the file as sitemap.xml and upload it to the root directory of your website via FTP or your hosting control panel (so it’s accessible at https://www.yourwebsite.com/sitemap.xml).
Step 5: Submit Your Sitemap to Google
Log in to Google Search Console, select your website, go to the Sitemaps section, enter sitemap.xml, and click Submit.
How to Submit Your XML Sitemap to Google
After creating your sitemap, you’ll need to send it to Google through Search Console to help with indexing.
Step-by-step process:
- Visit Google Search Console
- Select your website property
- Navigate to the “Sitemaps” tab
- Paste your sitemap URL (like
/sitemap.xml) - Click “Submit”
This allows Google to crawl your sitemap and begin indexing the listed pages.
Add Sitemap to Robots.txt File
This small step helps search bots find your sitemap even faster.
How to do it:
Add the following line to your robots.txt file:
Sitemap: https://yourwebsite.com/sitemap.xml
This way, even if you don’t submit it manually, search engines will discover it during their crawl.
How to Optimize Your XML Sitemap
Just creating a sitemap isn’t enough—you also need to keep it clean and efficient.
Best Practices:
- Include only important URLs (pages you want indexed)
- Avoid noindex, redirect, or 404 pages
- Use HTTPS versions of URLs only
- Limit each file to 50,000 URLs or 50MB
Sitemap Optimization Checklist
| Optimization Task | Why Important |
|---|---|
| Remove 404 or redirected pages | Prevents wasted crawl budget |
| Use canonical URLs | Avoids duplicate content confusion |
| Split large sitemaps | Improves readability and performance |
| Regular updates | Helps Google discover fresh content quickly |
Troubleshooting Sitemap Issues
Even the best sitemaps can run into problems. Here’s how to identify and fix them:
Common Errors:
- Sitemap returns a 404 error
- Sitemap includes non-canonical URLs
- Pages in the sitemap are not being indexed
Fixes:
- Use the URL Inspection feature in Search Console to check if individual pages are indexed properly.
- Use a sitemap validator tool like XML Sitemap Validator
- Remove non-indexable or outdated URLs from your sitemap
Final Thoughts
An XML sitemap isn’t just a technical detail — it’s an essential SEO asset that helps Google recognize, organize, and rank your website’s content more effectively. Whether your site is new, growing, or loaded with content, creating and maintaining a clean sitemap can speed up indexing and enhance your site’s visibility.
Pair your sitemap with smart strategies like link building, Off page SEO, and a reliable guest posting marketplace, and you’ll set your website up for long-term success in search engines.