
How to Implement WebP Images for Improved Page Load Speed
Website speed always remains a decisive factor for SEO and user experience. While slow loading pages thrust the visitors outside the window for engagement, their bounce rates increase while the coarse conversions diminish. Search engines such as Google will favor and lend visibility to fast and responsive websites.
The first great reason for any slow loading page may be unoptimized and bulky images. Image optimization is the absolute need of the hour for making the page load speed worthy, as visuals weigh much for heavier pages. Proper compression and resizing will keep the images at the help of huge load speed and smooth browsing of the website, especially for mobile users.
That is the perfect place for WebP images. WebP images use a modern format by Google that allows for very good image quality in small file sizes. Websites with faster loading will help with SEO and create a pleasant user environment.
This article tries to cover some of the WebP image basics, how using them might improve page loading time, and some ways to implement such images to improve performance and search ranking.
What Are WebP Images?
Basically, WebP being the modern image format is supposed to ensure faster load time for a website without compromising on the image content. It has been designed to ease the burden of file sizes; lighter web pages mean better site performance.
WebP Sampling supports lossy as well as lossless compression methods, meaning that either compression type can be used depending on your needs. WebP images offer 25 to 35% smaller size compared with JPEG or PNG images without compromising quality of image. This therefore makes WebP a good solution to image optimization and fast loading.
WebP stands supported fairly well among popular browsers these days- Chrome, Firefox, Safari, Edge, Opera, etc., ensuring seamless compatibility on almost all devices and platforms. What this means really is that there are no access impediments for those who want to raise their WebP banner.
WebP vs Traditional Image Formats:
| Feature | JPEG | PNG | GIF | WebP |
|---|---|---|---|---|
| Compression | Lossy | Lossless | Lossless | Both (Lossy & Lossless) |
| Transparency | No | Yes | Yes | Yes |
| Animation | No | No | Yes | Yes |
| File Size | Medium | Large | Large | Smallest |
Why WebP Images Improve Page Load Speed?
Speed is one number that could incredibly be dependent on how soon the images load. Lower file size means a higher difference in reaction time since the image usually constitutes the bulk of page weight. WebP images, for instance, are generally smaller by 25-30% than those in JPEG or PNG formats, with all this translating into faster transmission rates, lesser server workload, and shorter TTFB.
Another thing going towards improving the site’s performance is the smaller size of the images, i.e., improving Core Web Vitals, mostly Largest Contentful Paint (LCP), and First Input Delay (FID) two metrics used by Google to gauge User Experience. A faster page is more likely to mean that visitors will stay longer and rank higher in search.
How to Convert Images to WebP Format?
Smaller images can be converted to WebP as they take longer time to load. Larger images can go the other way and converted into WebP as per the custom selection of the user. Below are some basic approaches:
1. Online Conversion
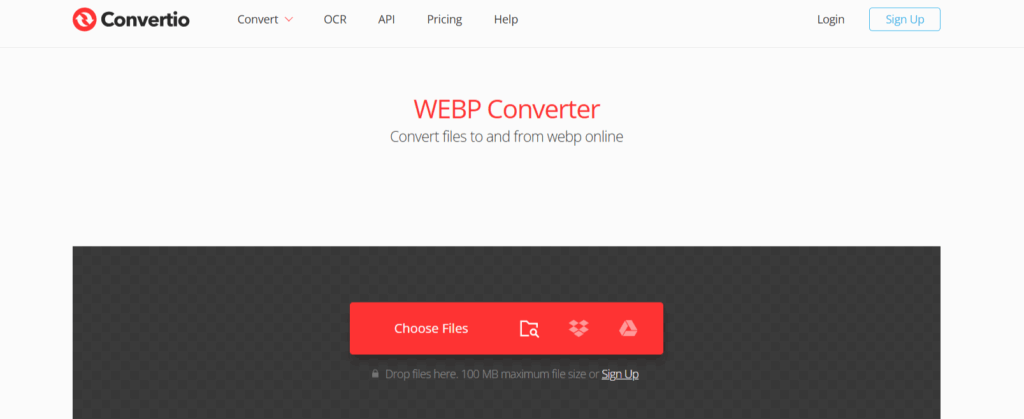
A more straightforward way: convert images to WebP online so that there is no need to install software. Some big names are Squoosh, Convertio, and CloudConvert.
Steps:
- Go to one of these tools in the browser.
- Upload the image to be converted.
- Select WebP as the output format.
- Set quality option (if any). Basically, the large file size signifies better quality; reducing uppers by a little may somewhat save the file size but at the image’s appearance level.
- Download the optimized WebP image.
2. Photoshop (or Any Editing Tool)
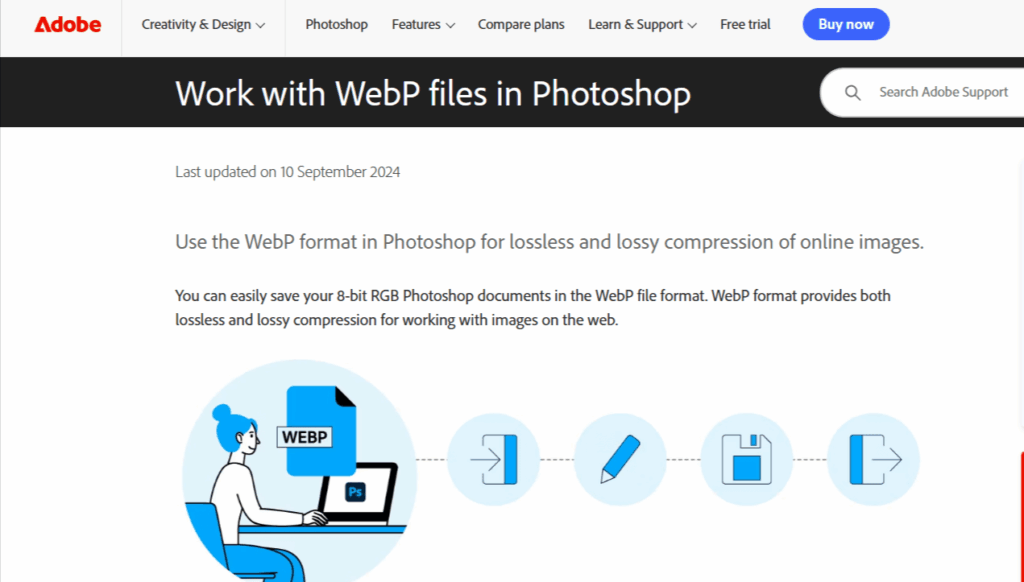
Batch conversion also comes with pixel quality control in any image editing software. Photoshop or with a good plugin, GIMP is hands down the “beauty” to export some images into the WebP format.
To export the image:
- Open the image on which you are working.
- Select Export As OR Save As.
- Select WebP File Type.
- Choose a suitable compression and quality level depending on how much you want to get down on the size of the image or on the amount of clarity you want to retain.
- Select location to save the file.
3. The Command Line Utility Method
The other choice, which may be more suited to processing one input file at a time but could also do batch jobs and come in handy in scripting scenarios, is the Google cwebp utility.
Sample command:
- cwebp input.jpg -q 80 -o output.webp
- input.jpg is the image being input into the command.
- -q 80 sets the quality at 80 on a scale of 0-100.
- output.webp is the WebP file to be outputted.
Implementing WebP on Your Site
Once your images get converted into WebP, the next step is to implement them into the website so that the site loads faster and better performance is achieved. How one goes about this implementation depends on the platform itself-A WordPress-installed site, custom website, or a CMS/ecommerce platform.
1. WordPress-Based Websites
Installing WebP images on WordPress websites is quite simple, mainly because there are many plugins available. Foremost being Smush, EWWW Image Optimizer, and ShortPixel.
Steps to Implement:
- Choose your preferred plugin and install it onto your WordPress site.
- Search settings within plugin and set WebP conversion as per your liking; options might include convert existing images automatically and any uploaded images in the future.
- Test your site with various browsers to ensure the images load correctly.
Most of the time, WebP delivery integration is automatic with the help of plugins, which will save you a lot of time plus make sure images and the site are prepared for fast performance.
2. Custom Solutions (HTML/CSS)
The WebP way requires a bit of manual control. The browser must ideally download the image in WebP and keep everything else static for the browsers not supporting WebP.
<picture>
<source srcset=”image.webp” type=”image/webp”>
<img src=”image.jpg” alt=”example image”>
</picture>
The browser tries first to render a WebP image. If it cannot, it simply displays the JPG or PNG fallback image. This kind of backward compatibility will not create visual layout breaks, so it is a safe way for everybody.
3. For CMS or E-Commerce Platforms
Such platforms as Shopify and Magento either support WebP natively or have third-party apps for integration purposes. These apps can then convert images to WebP automatically and serve the converted images to supporting browsers.
On big and heavy-traffic websites, WebP image delivery has to be enabled through a CDN such as Cloudflare and BunnyCDN. At the edge, CDNs convert the images to WebP, resulting in greater worldwide speed and less server stress.
Following this for your platform guarantees proper image optimization, fast loading times, and top-notch user experience on your website, heralding an advantage in SEO.
Testing the Impact of WebP on Page Load Speed
While implementing WebP now, you should check how they impact your site performance. Various tools will track the enhancements and help you gauge before and after conversion.
Google PageSpeed Insights is a general-purpose page speed testing apparatus for mobile and desktop devices. It displays detailed measurements such as LCP, CLS, and performance scores. If you test your site before making the WebP change and afterward, you will see a noticeable change in load speed and experience.
With a similar analysis, GTmetrix provides a visual breakdown of page-level elements, including images by size and load time. It highlights the most detrimental assets to slow loading, so you realize how WebP-assisted weight reduction and speed improvements.
Another choice that looks very promising is WebPageTest.org, which generates various metrics such as Time to First Byte (TTFB) and fully loaded time, along with waterfall charts showing the order in which resources load. Comparing results before and after WebP conversion clearly defines the performance gains.
Example Comparison:
| Metric | Before (JPEG/PNG) | After (WebP) | Improvement |
|---|---|---|---|
| Page Size | 3.5 MB | 2.1 MB | 40% smaller |
| Load Time | 4.8s | 2.9s | 39% faster |
| Score | 68/100 | 90/100 | +22 points |
Common Mistakes to Avoid When Using WebP
In order to realize an effective implementation of WebP images and thus maximize the page load speed, follow the common mistakes that must be avoided:
- Lack of Fallback Images: Missing fallback JPEG or PNG images for the browser will produce a haunting phenomenon, where the site visuals fail to appear. Always employ the tag, or something similar, for backward compatibility.
- Over-Compression : While reducing the file size too much is the very reason to produce pixelated or blurry images, find a balance between compression and quality to guarantee visual clarity.
- Ignoring Lazy Loading : Optimized WebP images still slow down pages if all images load at once. Employ lazy loading to load images when they come into the viewport.
- Forgetting CDN Cache Invalidation: Going for replacing images by their WebP versions may still serve an outdated cache version of the images. Always clear or invalidate your CDN cache to allow updated images to be served.
FAQs
Do WebP images load faster?
Indeed, it does. On average, file sizes in WebP format are smaller than JPG or PNG by percentages ranging anywhere from 25 to 30. Hence, an amount of data is transferred from the server to the browser.
How to optimize WebP images?
Optimization of a WebP image is through the principal steps: resizing images to display dimensions, compression for a good balance between quality and file size, and lazy loading on bigger pages. Some of the tools that may be utilized are an online tool such as Squoosh or Convertio; a plugin such as ShortPixel or EWWW Image Optimizer; or even a command-line tool such as cwebp if it needs to be done in batch.
Does it support progressive loading?
Yes, WebP allows for progressive rendering, meaning that the image “glances” at spot focus while loading rather than waiting for the entire file to be downloaded. This selling of fast rendering is mostly experienced by viewers using slow broadband or on mobiles.
Is AVIF better than WebP?
In general, AVIF can compress with better quality and less file size loss than WebP. But from the browser point of view, AVIF is yet to become as supported as WebP and hence WebP acts as the “safe” choice just in case your website would want to be maximally cross-compatible for the potential visitor.
Is WebP better than PNG?
Almost every time, yes. The WebP format supports transparency as the PNG, but with much smaller file sizes; hence, the graphics load faster without posing any compromise to visual quality. A WebP is any concrete computer-generated application suitable for computer-generated graphics, icons, and illustrations on the Web.
Which image formats are best for faster website performance?
The set-up is most compatible with WebP, the latter being balanced among quality, file size, and compatibility. More compressions may be possible with AVIF if, however, fallback mechanisms can be set into their place. In the absence of fallbacks, it remains that JPEGs or PNGs are to be preferable but with somewhat slower page loading because of larger file sizes.